Summary: Walking through the process for this illustration – Rough sketches in Painter, line-work in Illustrator, painting in Painter, and final adjustments in Photoshop.
Self Portrait? Only through the distorted lens of artistic license. Although this illustration features my favorite Michael Kors shirt, and I do wear hipster glasses, and I do always have a two-day beard, and I do run with the deer; the resemblance pretty much stops about there.
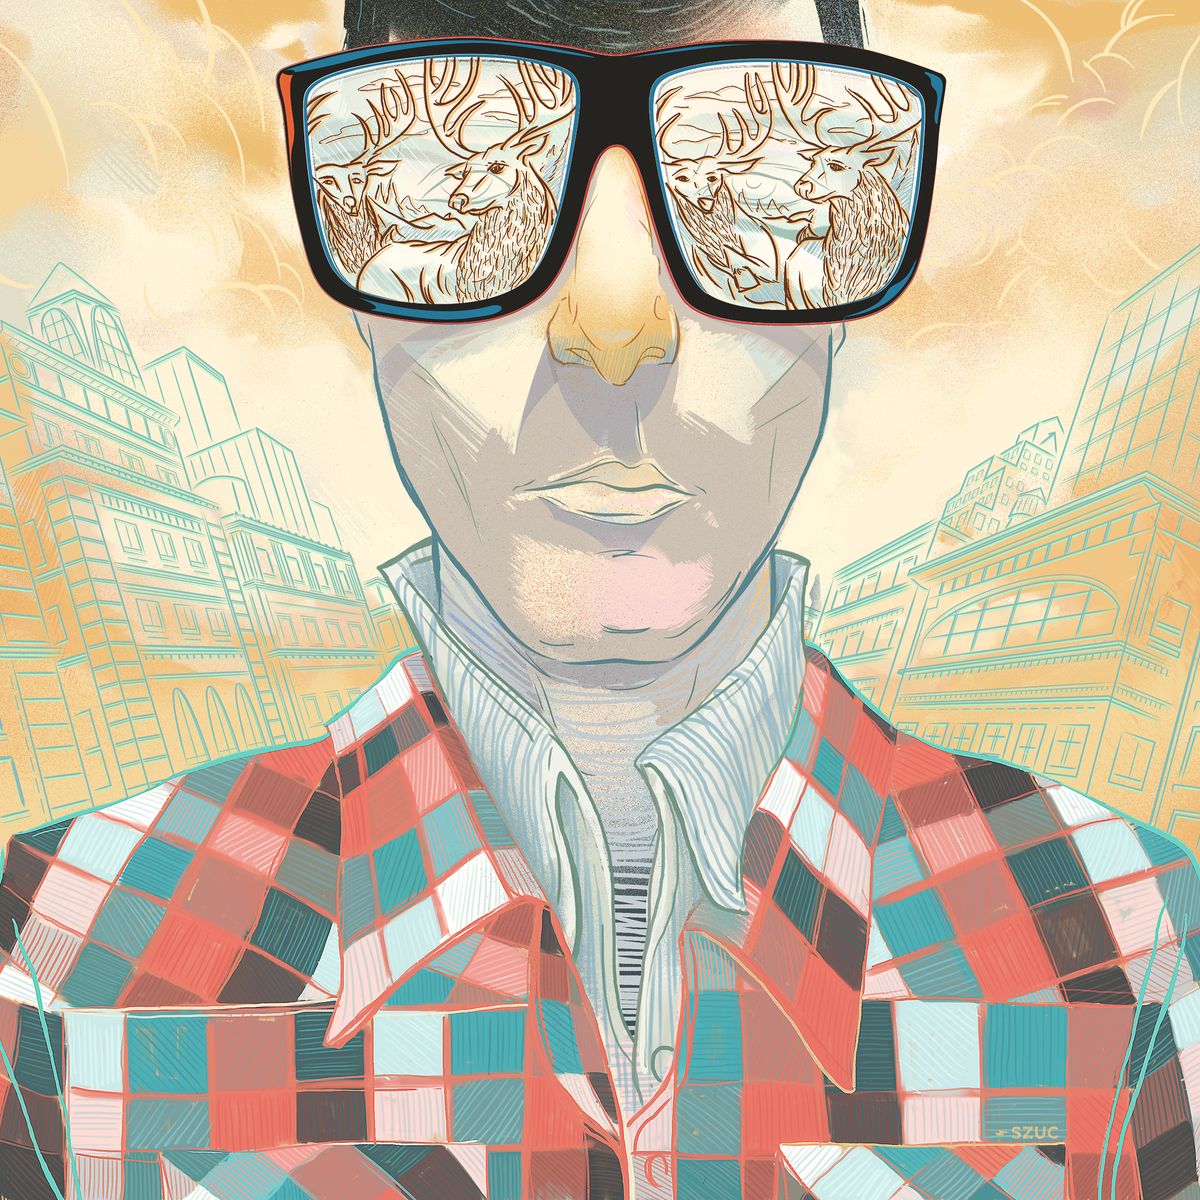
From the preliminary sketches to finished piece, Read on for the walkthrough I've put together of the process behind this piece.
The Sketch
The preliminary concept sketch does kind of look like me, though most of my drawings do.
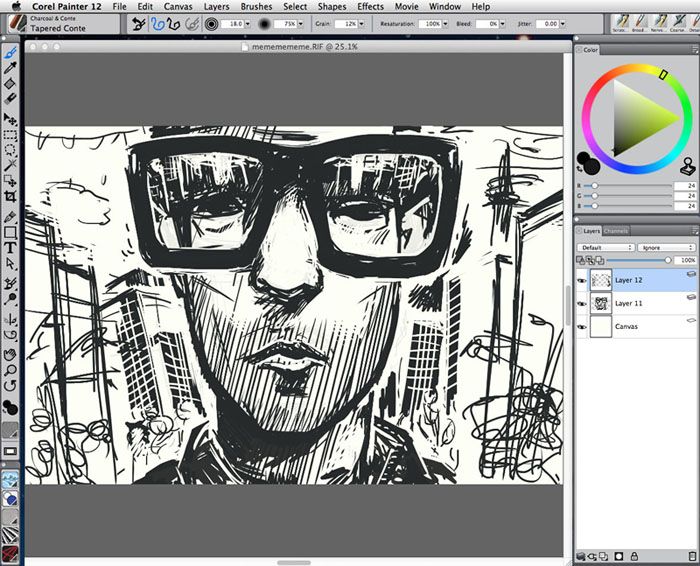
I do all my preliminary sketching in Corel Painter now, it has the most realistic "tactile" response of any of the programs I've tried. I like to build up sketches in Painter, tracing and refining over many drafts. Normally I do tighter linears before going to paint, but since this piece is going to have its line work done in Adobe Illustrator, I figured I would leave the detail work until that step.
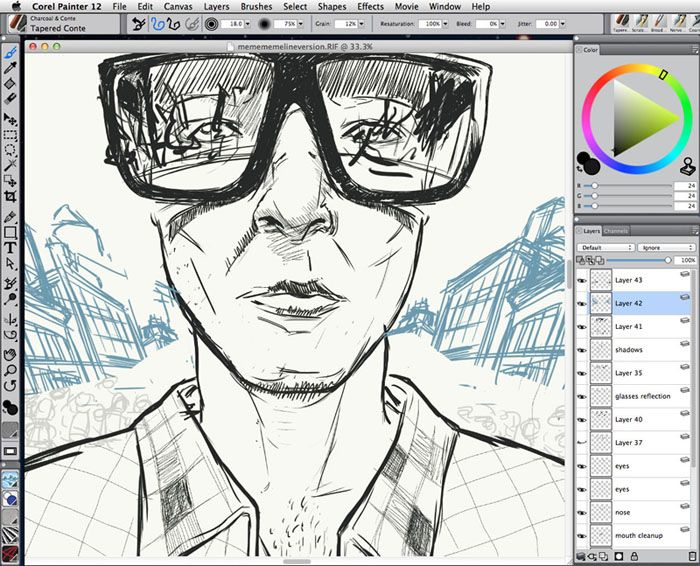
Cleanup
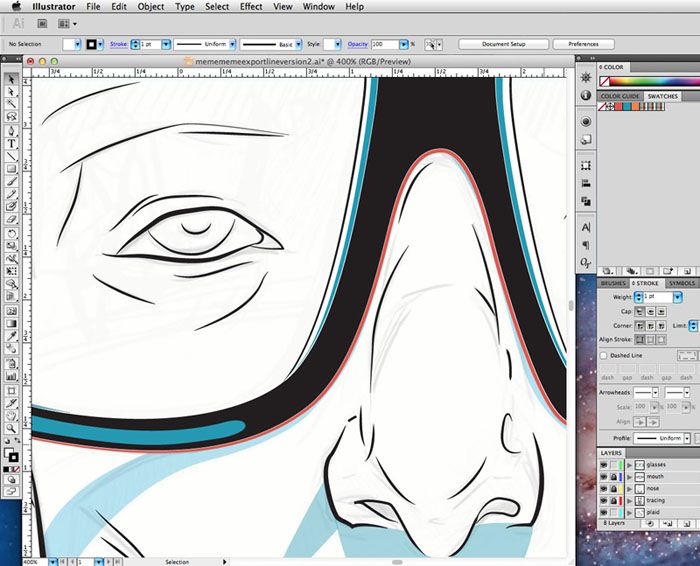
Here I've brought the image into Adobe Illustrator and retraced it using the pencil tool. Illustrator allows me to create much cleaner line work than I have the patience to do freehand.
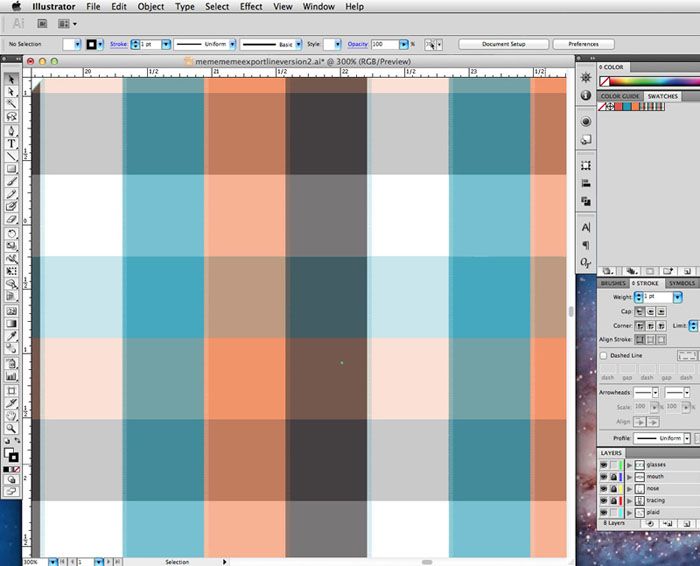
Also, while in Illustrator, I worked out the plaid pattern for the shirt which would also work as the color palette for the piece.
Line Art
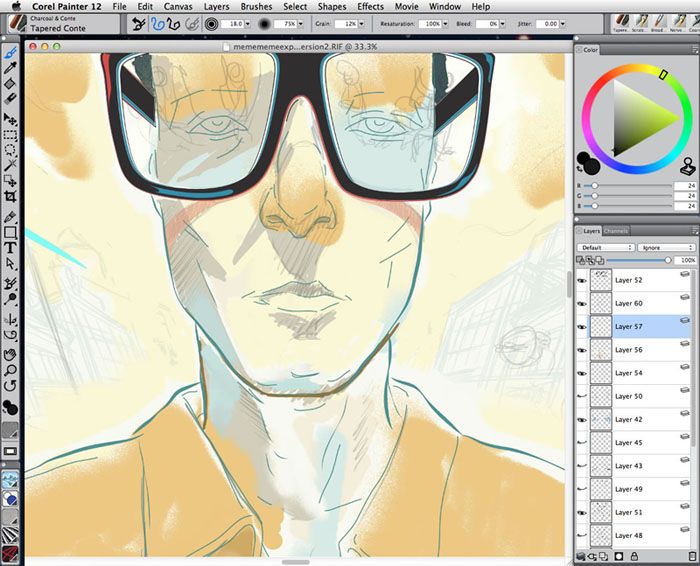
From Illustrator, I group separate areas such as nose, mouth, shirt, etc., and bring them over into Painter individually so that I can recolor and treat each differently. With the final linework in place, I do a loose color wash over the whole piece to block in colors and figure out values, as well as set an overall tonal mood to the painting.
Work All Over
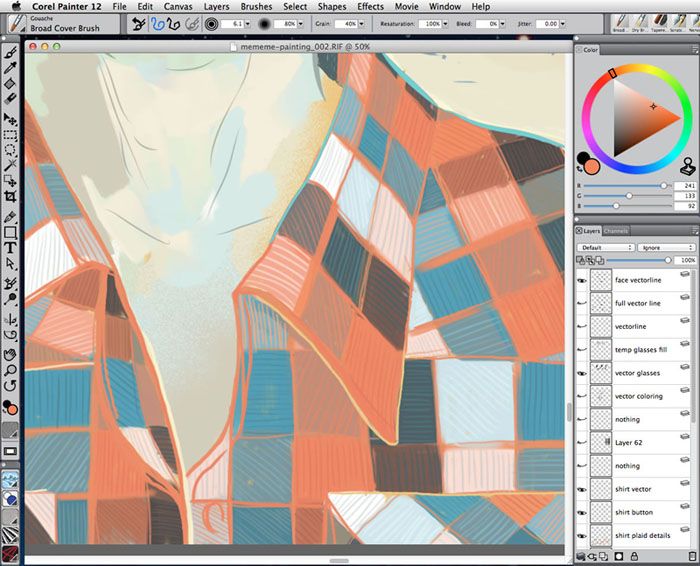
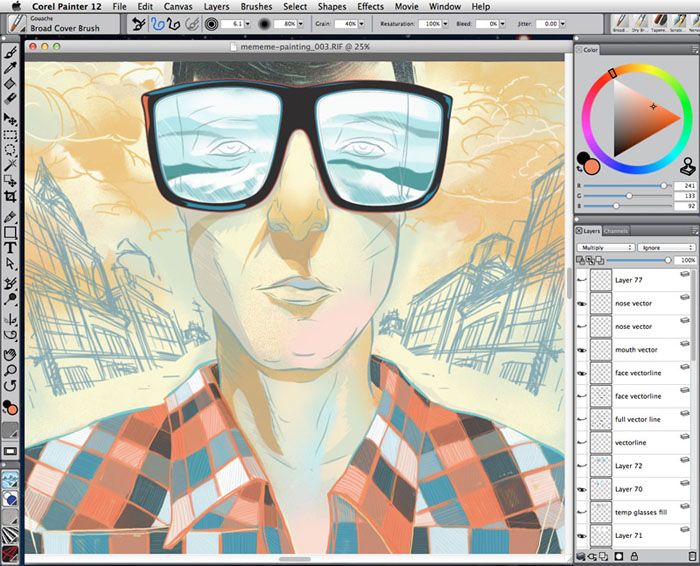
I work around the piece, refining colors, and details – jumping from one area to another – trying to work on the painting as a whole and not just a collection of elements.
Does This Shirt Go With My Glasses?
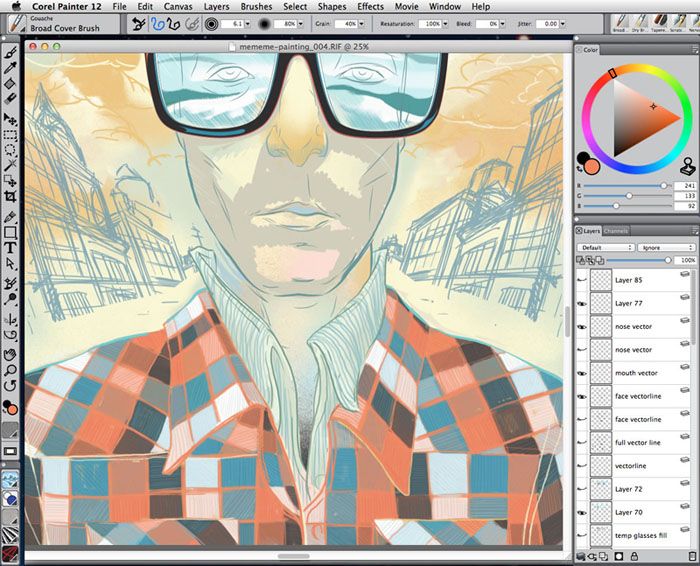
Usually, by this point in a piece's development, there aren't any major changes left to come. With this painting, however, I did a sudden wardrobe change halfway through. I felt that the piece needed a bit more of a fashion edge to it so I added a double collar, which is something I saw on the mannequins of my favorite store, the UNI QLO on Fifth Avenue.
Putting the Background in Place
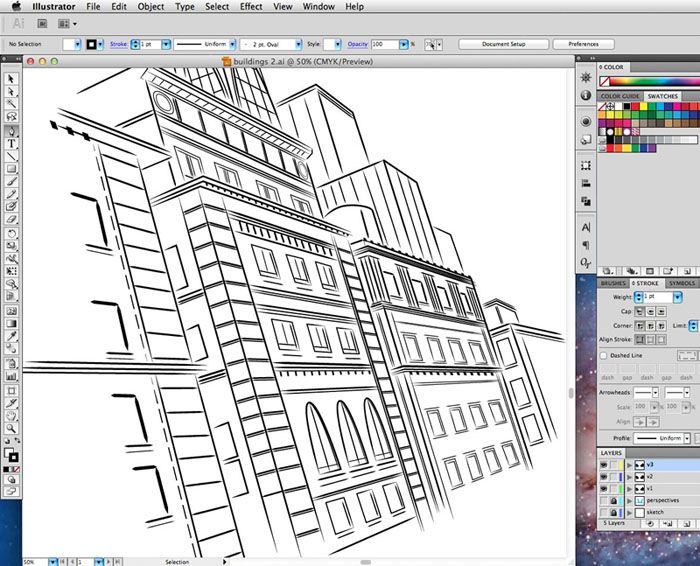
Next, it's back into Illustrator to work out the building details. The vector artwork is again exported and brought into Painter for recoloring.
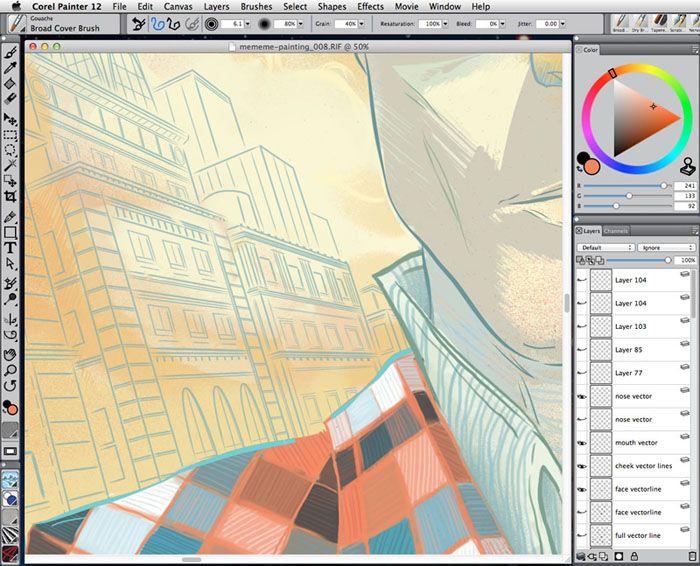
Dear Deer
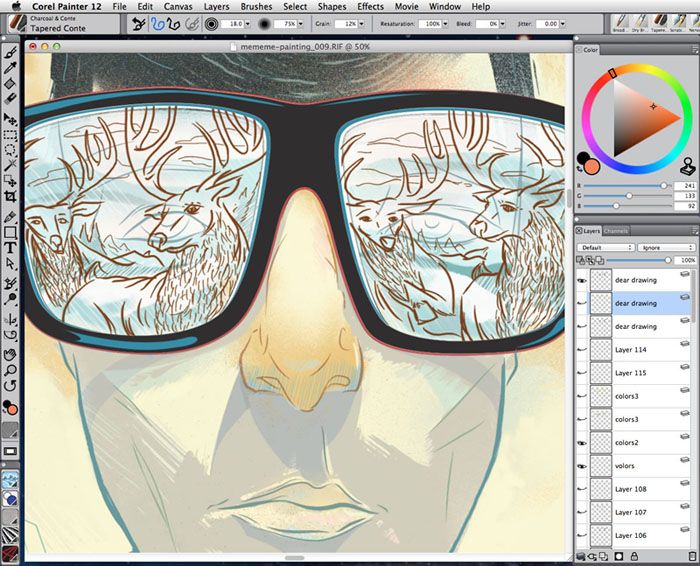
And last but not least, the focal point of the piece, the deer in the headlights are sketched in Painter, using the "tapered Conté" tool.
One More Thing
With all the Painter work done, I export the image as a layered PSD file and bring it over to Photoshop for some final color and level adjustments.
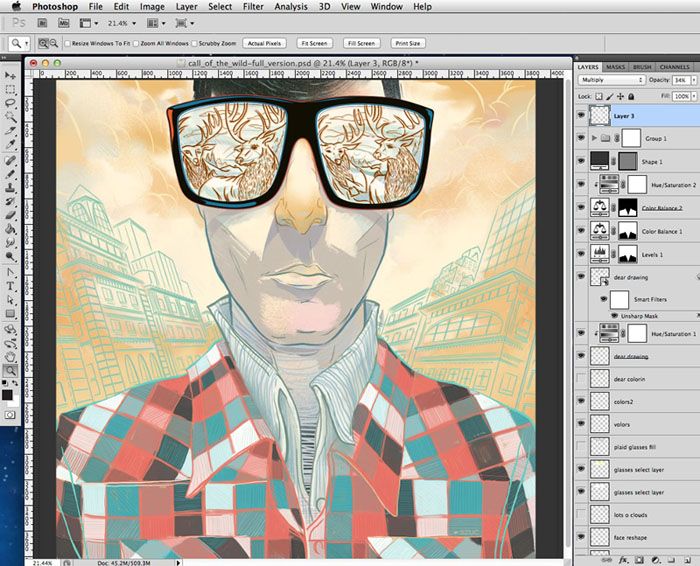
The finished illustration, as you can see in the layers palette, has selectively masked areas that apply separate image adjustment layers to different elements. This is my final fine-tuning of the balance of the piece.
Wrap up
Different applications have different strengths. Switching back and forth between apps is a great way to get the final end-result you want.
